Neovim Beginner's Guide (Part 2): Common Plugins
Common Plugin Configurations
After the introduction in the previous sections, your Neovim setup is now ready for basic usage. Below, we’ll recommend some common plugins to help you get started quickly.
📂 nvim-tree
nvim-tree is a file explorer that enables quick file selection from a sidebar.
Installing plugins in Neovim is straightforward. Following the previously outlined approach, first, find the relevant repository on GitHub, such as https://github.com/nvim-tree/nvim-tree.lua, then proceed with the installation. Installation specifics are usually detailed in the project’s README.
You’ll need to install two packages here: nvim-tree itself and an optional package mainly used for displaying icons. Add the configuration in your plugin.lua.
require("lazy").setup(
    -- other configurations omitted
    { "kyazdani42/nvim-tree.lua", event = "VimEnter", dependencies = "nvim-tree/nvim-web-devicons" },
)
Next, create a plugins-config directory in your Lua directory and add an nvim-tree.lua file inside it. Now, you can start configuring. Most configuration details can be found in the official Wiki.
Here, we use the pcall function to load related plugins.
Why use pcall? When a plugin is not installed or encounters other issues, Neovim fails to load the relevant queries during startup, resulting in an exception. pcall helps capture these exceptions, ensuring uninterrupted use of Neovim.
local status, nvim_tree = pcall(require, "nvim-tree")
if not status then
    vim.notify("Unable to find nvim-tree")
    return
end
This way, when nvim-tree isn’t loaded, it will be reported using vim.notify.
The remaining step is to configure our nvim-tree.
nvim_tree.setup({
    sort_by = "case_sensitive",
    -- Show git status
    git = {
        enable = true,
    },
    -- File filtering
    filters = {
        dotfiles = true, -- Filter dotfiles
        custom = { "node_modules" }, -- Other filtered directories
    },
    view = {
        -- File explorer display position, left: left, right: right
        side = "left",
        -- Display line numbers
        number = false,
        relativenumber = false,
        signcolumn = "yes", -- Display icons
        width = 30,
    },
    renderer = {
        group_empty = true,
    },
})
Finally, add the configuration in the outermost init.lua.
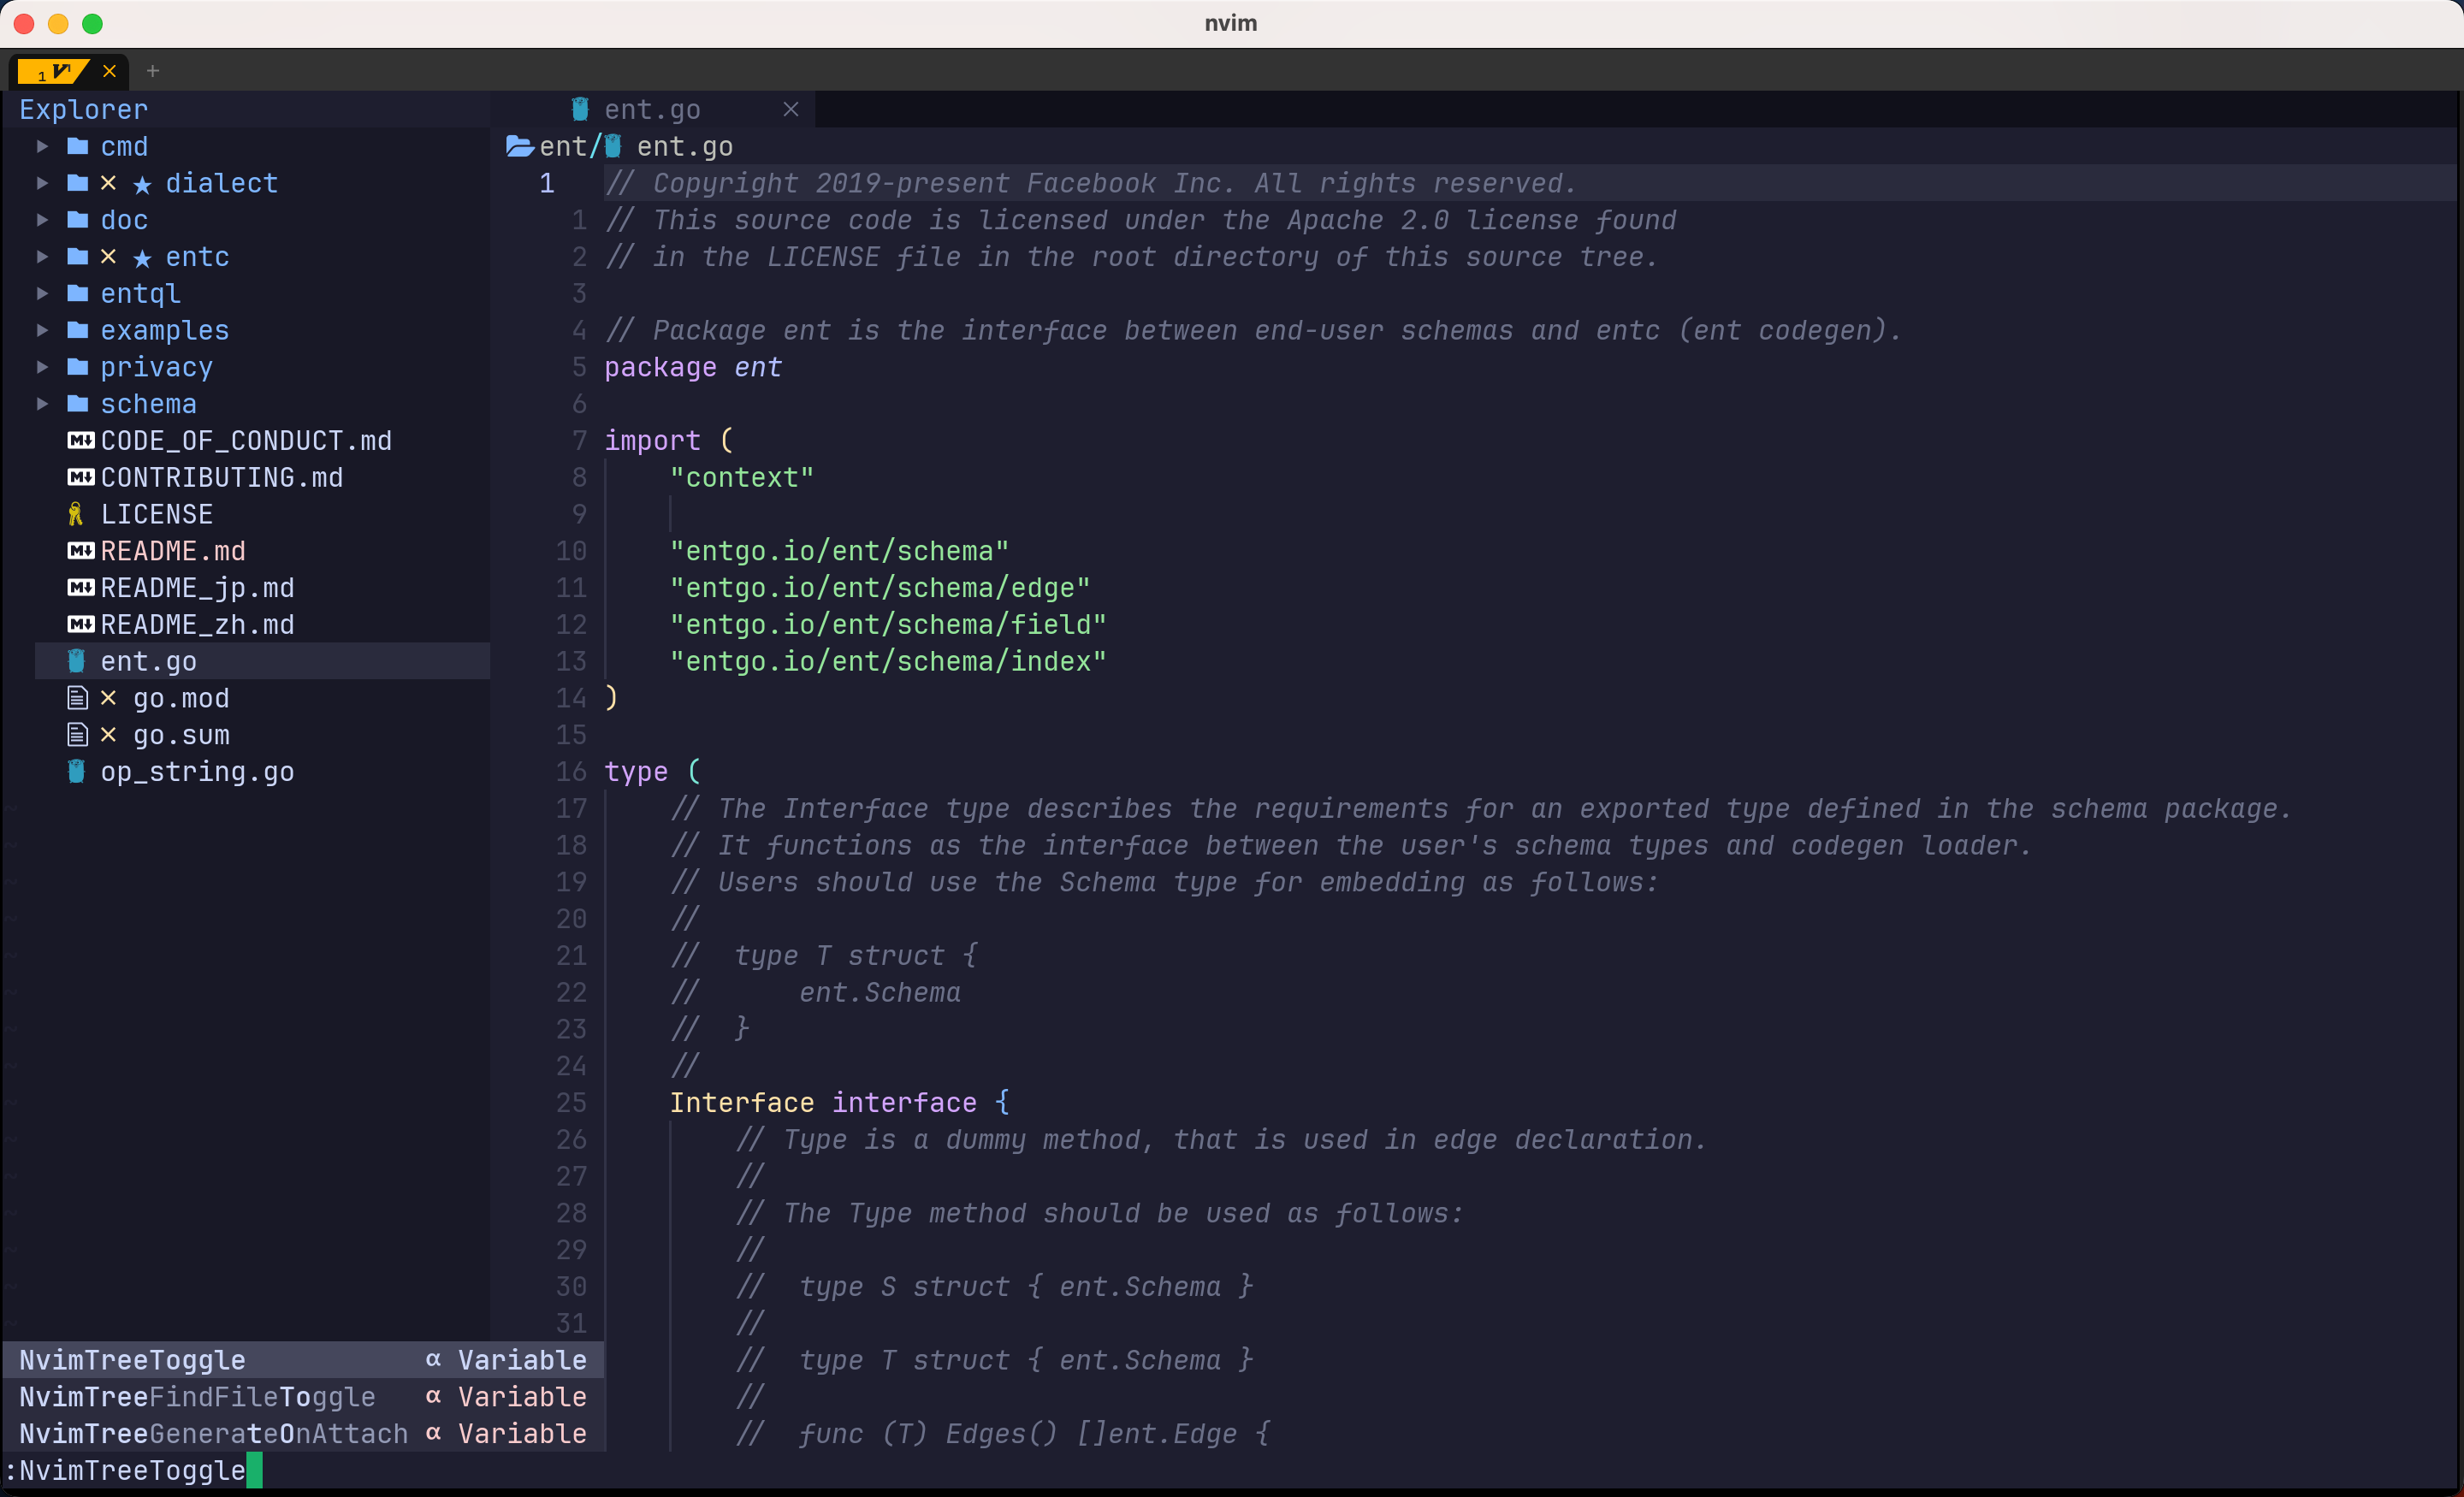
require("plugins-config.nvim-tree")After reopening Neovim, you can toggle the sidebar open or closed using the :NvimTreeToggle command.
Opening and closing via commands every time might be inconvenient. You can set shortcuts for this operation. Remember our keybinding.lua? We need to put all shortcut settings there.
-- alt + m to toggle file explorer
map("n", "<A-m>", ":NvimTreeToggle<CR>", opt)
Now, you can open and close the file explorer with Alt + m. There are other shortcuts available for actions like creating files, deleting files, renaming, etc., which are documented in the official configuration. If you need to modify shortcuts, add them in keybinding.lua and reference them in nvim-tree.
local pluginKeybinding = {}

pluginKeybinding.nvim-tree = {
    { key = "<F5>", action = "refresh" },
}
In nvim-tree.lua, set the related shortcuts. First, import the variable and then set its value in the setup.
local keymap = require('keybinding').nvim-tree

nvim_tree.setup({
    -- ...
    view = {
        mappings = {
            custom_only = false,
            list = keymap,
        }
    }
    -- ...
})
📨 bufferline
bufferline is a plugin for managing buffers, allowing you to open multiple tabs like modern IDEs or editors and switch between them quickly. Installation details are not repeated here, as they’re detailed in the README on GitHub. You can find the bufferline repository at https://github.com/akinsho/bufferline.nvim.
Create a bufferline.lua file under plugins-configs directory for configuration. Similarly, use pcall to load, then configure.
local status, bufferline = pcall(require, "bufferline")
if not status then
    vim.notify("Unable to find bufferline")
    return
end

bufferline.setup({})
Upon reopening Neovim and opening multiple files, you’ll notice new tabs appearing at the top.
Some settings are needed, for example, ensuring that the tabs for nvim-tree, installed earlier, do not appear above the nvim-tree. You can check the plugin’s supported configurations using :h bufferline-configuration.
From the help document, you’ll see the offset configuration related to nvim-tree. This allows us to configure accordingly.
bufferline.setup({
    options = {
        offsets = {
            {
                filetype = "NvimTree",
                text = "File Explorer",
                text_align = "left",
                separator = true,
            },
        },
    },
})
With this setting, when nvim tree is open, the tab bar will automatically shift to the right and won’t appear above nvim tree. Other settings can be configured similarly by referring to the help. Here’s my configuration.
options = {
close_command = "bdelete! %d", -- Close using close button
right_mouse_command = "bdelete! %d", -- Close using right-click
indicator = {
icon = '▎', -- Separator
style = 'underline',
},
buffer_close_icon = '',
modified_icon = '●',
close_icon = '',
offsets = {
{
filetype
= "NvimTree",
text = "File Explorer" ,
text_align = "left",
separator = true,
}
},
}Here, I’m using bdelete command provided by moll/vim-bbye plugin. Installation of this plugin is required for the above configuration to work. Also, you can set shortcuts for tab switching in keybinding.lua. I set it to Ctrl + h/l for left/right switching.
map("n", "<C-h>", ":BufferLineCyclePrev<CR>", opt)
map("n", "<C-l>", ":BufferLineCycleNext<CR>", opt)
✏️ lualine
lualine plugin provides similar effects, offering information prompts in the editor, such as Git status, text encoding, etc. Below is an example from GitHub.

Installation details are available directly on nvim-lualine/lualine.nvim. Similar to other plugins, create a configuration file lualine.lua under plugins-configs, use pcall to include it, and use lualine.setup({}) to include the plugin. Then, add the configuration file in init.lua. Installation methods for each plugin are similar. Different cases will be explained separately. Subsequent plugin installations will not explain these steps.
In lualine, the display area is divided into 6 parts, denoted by A,B,C,X,Y,Z.
+-------------------------------------------------+
| A | B | C                             X | Y | Z |
+-------------------------------------------------+
Each section above can be customized. There are three types of examples available in the repository, which can be found directly in the example.
Here’s a related configuration:
local status, lualine = pcall(require, "lualine")
if not status then
vim.notify("Unable to find lualine")
return
end
lualine.setup({
options = {
theme = "auto",
component_separators = { left = "|", right = "|" },
section_separators = { left = " ", right = "" },
},
extensions = { "nvim-tree", "toggleterm" },
sections = {
lualine_c = {
"filename",
},
lualine_x = {
"filesize",
{
"fileformat",
symbols = {
unix = '', -- e712
dos = '', -- e70f
mac = "", -- e711
},
},
"encoding",
"filetype",
},
},
})After configuration, you’ll see the effect as shown below.

🔍 telescope
With the configurations done so far, Neovim’s editing interface is gradually becoming “modernized”. Telescope can make our searching process smoother, mainly used for fuzzy searching.
Installing telescope is also relatively simple, and you can refer to the README on GitHub for installation. However, after installation, fuzzy searching may not work out of the box. Additional configuration is needed. Actually, the README explains it clearly. After installation, run the :checkhealth telescope command.
This command shows the current status of the plugin, whether it’s functional. If it’s your first installation, you may encounter ERROR and WARNING prompts as shown below:
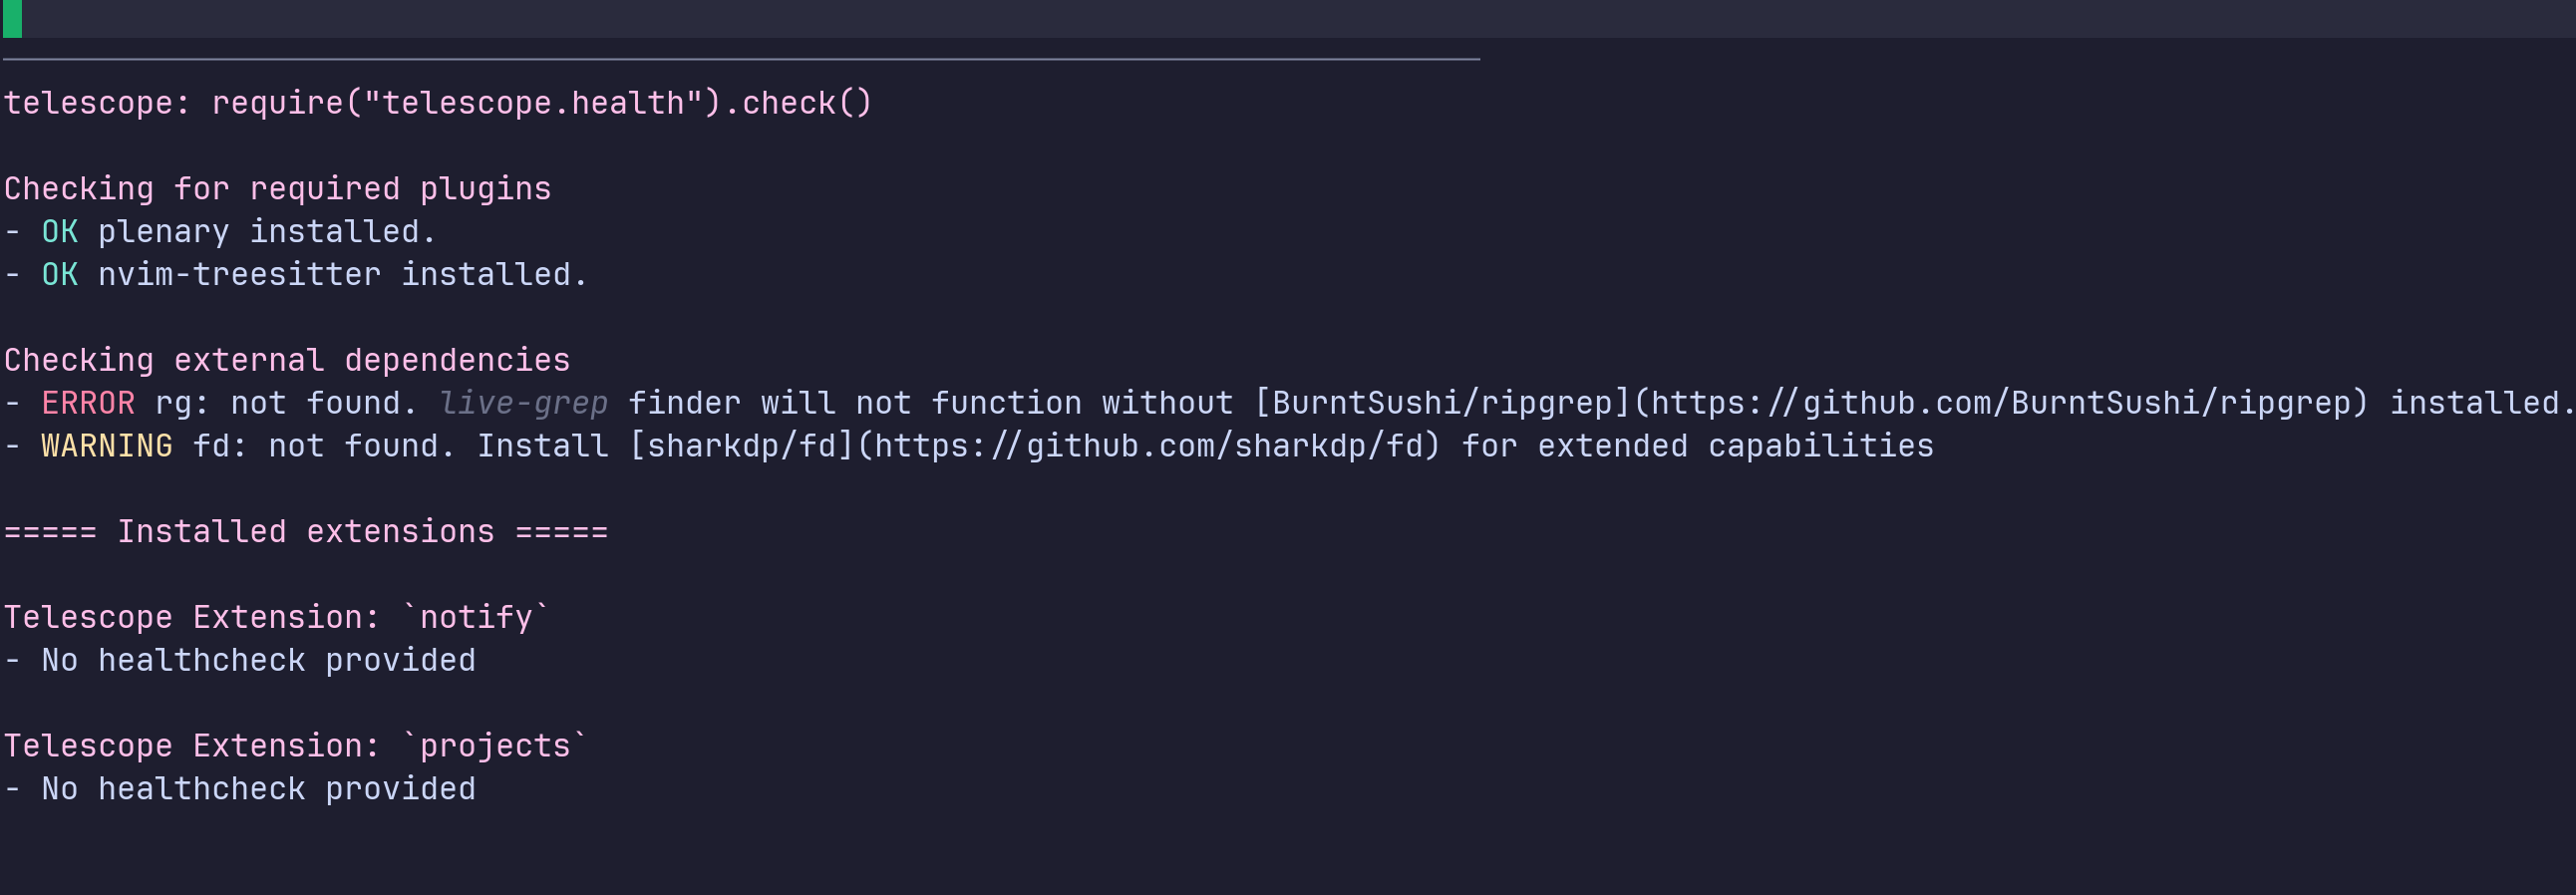
From the prompts, you can see that rg and fd are missing. The README provides installation addresses for them. These two software are crucial for fuzzy searching. You can install them from the addresses provided in the README on GitHub.
If you’re using macOS and already have brew installed, you only need the following two commands to install them:
brew install rg
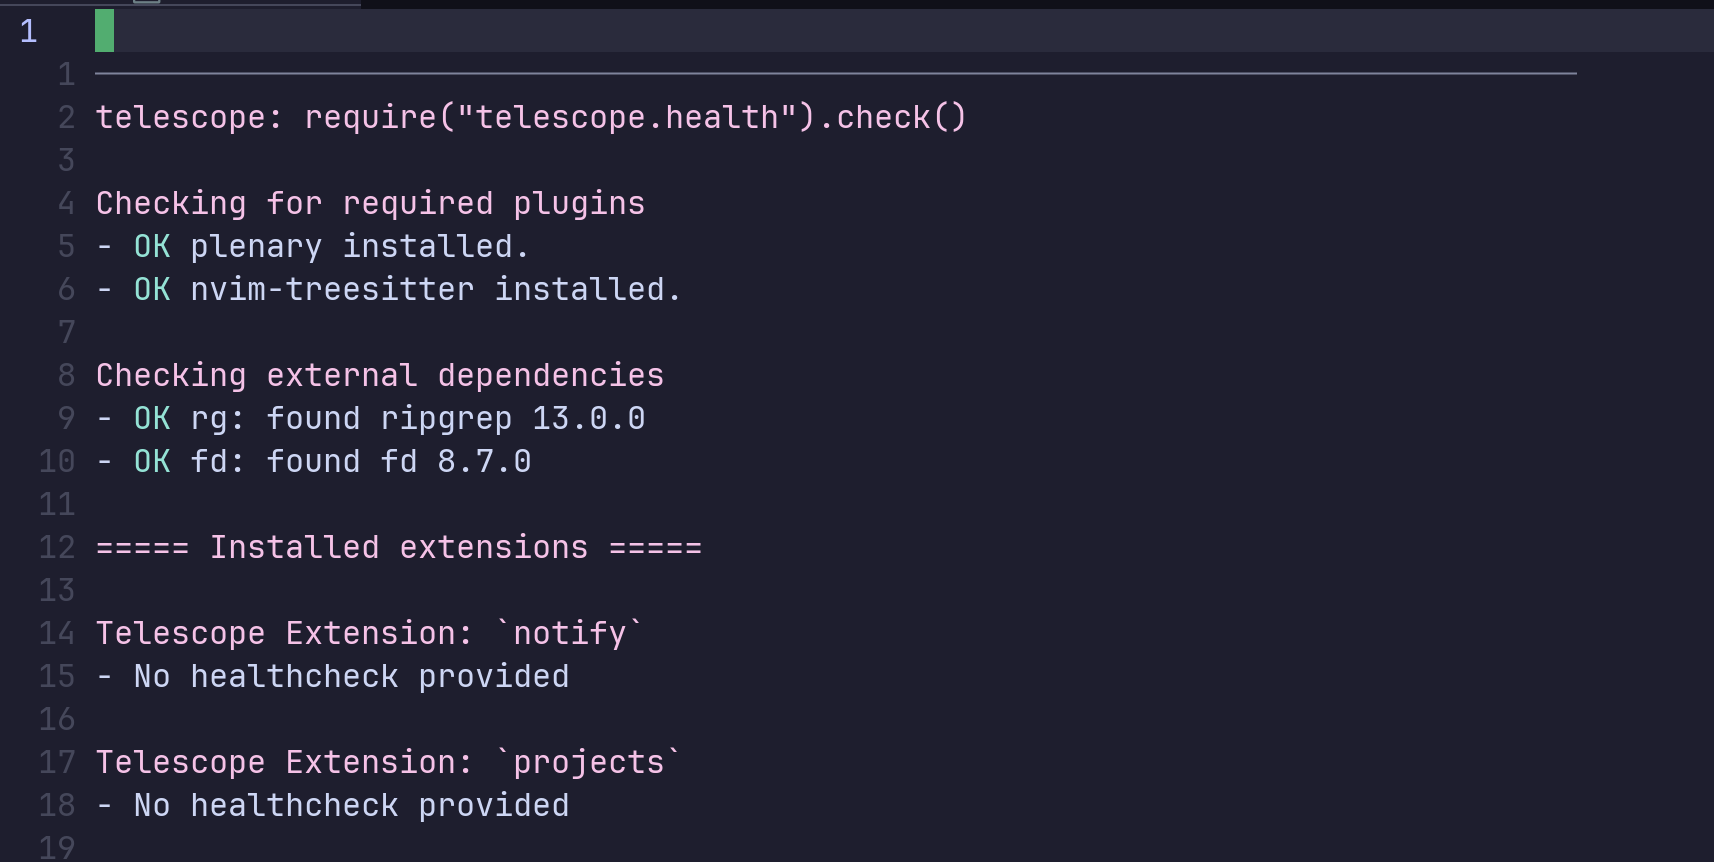
brew install fd After installation, run :checkhealth telescope again. If everything shows OK, the installation is correct, as shown below:
Now that the installation is complete, you can use telescope for quick fuzzy searching via commands. :Telescope find_file for finding files, Telescope live_grep for global searching. For convenience, you can bind them to corresponding shortcuts in your keybinding configuration. Here are my shortcuts:
-- Telescope
-- Find files
map("n", "<C-p>", ":Telescope find_files<CR>", opt)
-- Global search
map("n", "<C-f>", ":Telescope live_grep<CR>", opt)
For more interesting configurations, refer to the GitHub repository.
Appendix
Nerd Font Installation
In many configurations above, some icons may not display correctly, resulting in text or interface display issues, often showing a ⊠. Here, you need a nerd font for support.
Nerd Font can be seen as a patch for the original font, adding a large number of icons to it.
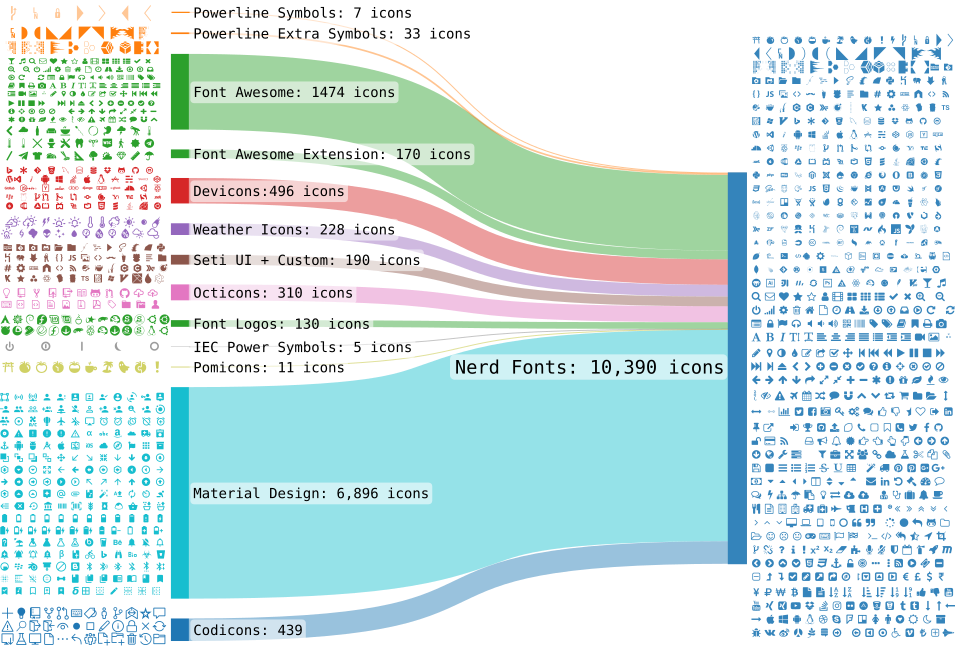
For the icons that couldn’t display, you need to install the relevant Nerd Font. These fonts can be downloaded from the official website, and many well-known fonts have nerd versions, such as FiraMono, JetBrainsMono, UbuntuMono, etc. You can download and install according to your preference.
Related Content


If you feel that this article has been helpful to you, your appreciation would be greatly welcomed.
Sponsor