Neovim Beginner's Guide (Part 3): LSP Configuration (I)
🧩 What is LSP
For an editor, to accomplish tasks like auto-completion, finding relevant definitions, etc., extensive development is required. Different editors require separate development efforts for different languages. The Language Server Protocol (LSP) streamlines this process. LSP, short for Language Server Protocol, defines the protocol used between editors and language services. As long as the relevant language supports LSP, editors can implement features like auto-completion by meeting specific requirements, ensuring a consistent user experience across different editors.
Currently, many editors support LSP, including the renowned VS Code. Vim 8 and Neovim also support LSP starting from versions after a certain point. For a list of supported editors/IDEs, you can refer to the official LSP website, and for supported languages, check here.
Neovim already supports LSP, and you can find detailed instructions on how to configure an LSP in the relevant documentation. However, the configuration process is relatively cumbersome, so the official team provides another library, nvim-lspconfig, to streamline this process. Let’s configure Neovim’s LSP using this plugin.
nvim-lspconfig
Similar to installing other plugins, we only need to add relevant configurations in the plugins_config.lua file. I won’t delve into that here. Once installed, configuring it enables LSP, it’s that simple. For example, to support Rust’s LSP, only simple configuration is needed:
lspconfig.rust_analyzer.setup {
  settings = {
    ['rust-analyzer'] = {},
  },
}
However, Neovim only serves as the LSP client, meaning there needs to be an LSP server. The rust_analyzer configured above is Rust’s language server, requiring us to install the server. The server for rust_analyzer can be found at rust-lang/rust-analyzer. You need to download and install the server so that you can enjoy the benefits of LSP when writing Rust code.
But there are a few inconveniences with this approach, or rather, considerations:
- For users of multiple languages, manually installing multiple LSP servers is required. Currently, there isn’t a unified download/installation address for LSP servers, necessitating manual search.
- Every time the server updates, a reinstallation is necessary.
- When switching devices, it’s not plug-and-play; you need to repeat the aforementioned process.
Faced with these inconveniences, you might have thought of various solutions, such as scripting a one-click installation and update of commonly used LSP servers. Just as you’re thinking, let me introduce you to our second hero today, williamboman/mason.nvim.
🗃️ mason.nvim

Mason is a plugin that conveniently manages LSP servers, DAP servers, linters, and formatting tools. Once installed, the aforementioned problems cease to exist.
To better integrate Mason with nvim-lspconfig, you also need to install another plugin, williamboman/mason-lspconfig.nvim.
Installation steps are similar and won’t be reiterated here; we’ll focus on the configuration. Here, to distinguish it from other plugins, we create a new folder named -lsp in the lua directory to exclusively store LSP configurations.
Configuring Mason
First, let’s load our plugins. Create a mason.lua file in the lsp folder and add the following configuration:
-- mason.lua
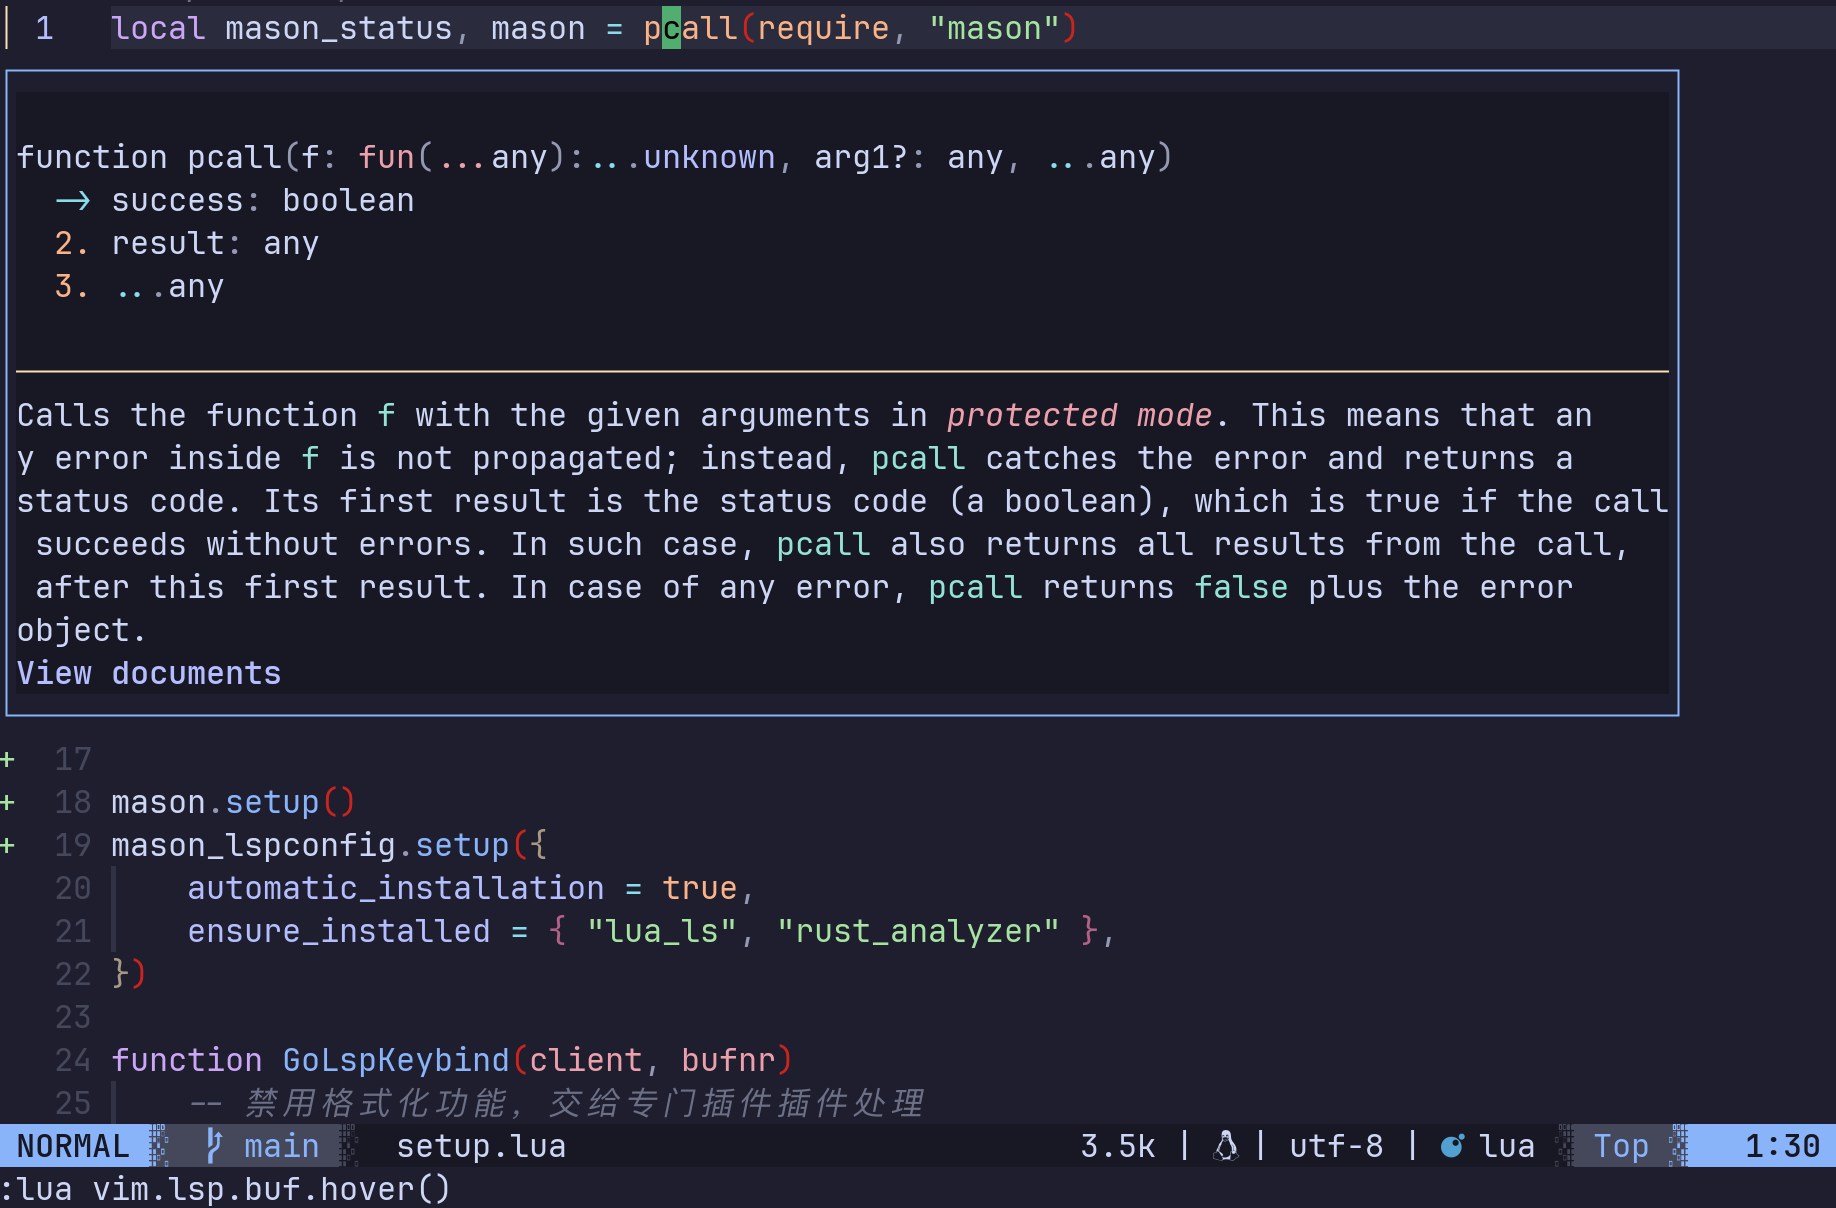
local mason_status, mason = pcall(require, "mason")
if not mason_status then
vim.notify("Could not find mason")
return
end
local nlsp_status, nvim_lsp = pcall(require, "lspconfig")
if not nlsp_status then
vim.notify("Could not find lspconfig")
return
end
local mlsp_status, mason_lspconfig = pcall(require, "mason-lspconfig")
if not mlsp_status then
vim.notify("Could not find mason-lspconfig")
return
end
mason.setup()
mason_lspconfig.setup({})📤 Installing LSP Servers
After configuring, restart nvim. Now you can manage LSP servers using Mason by simply typing :Mason. You’ll see the following interface:
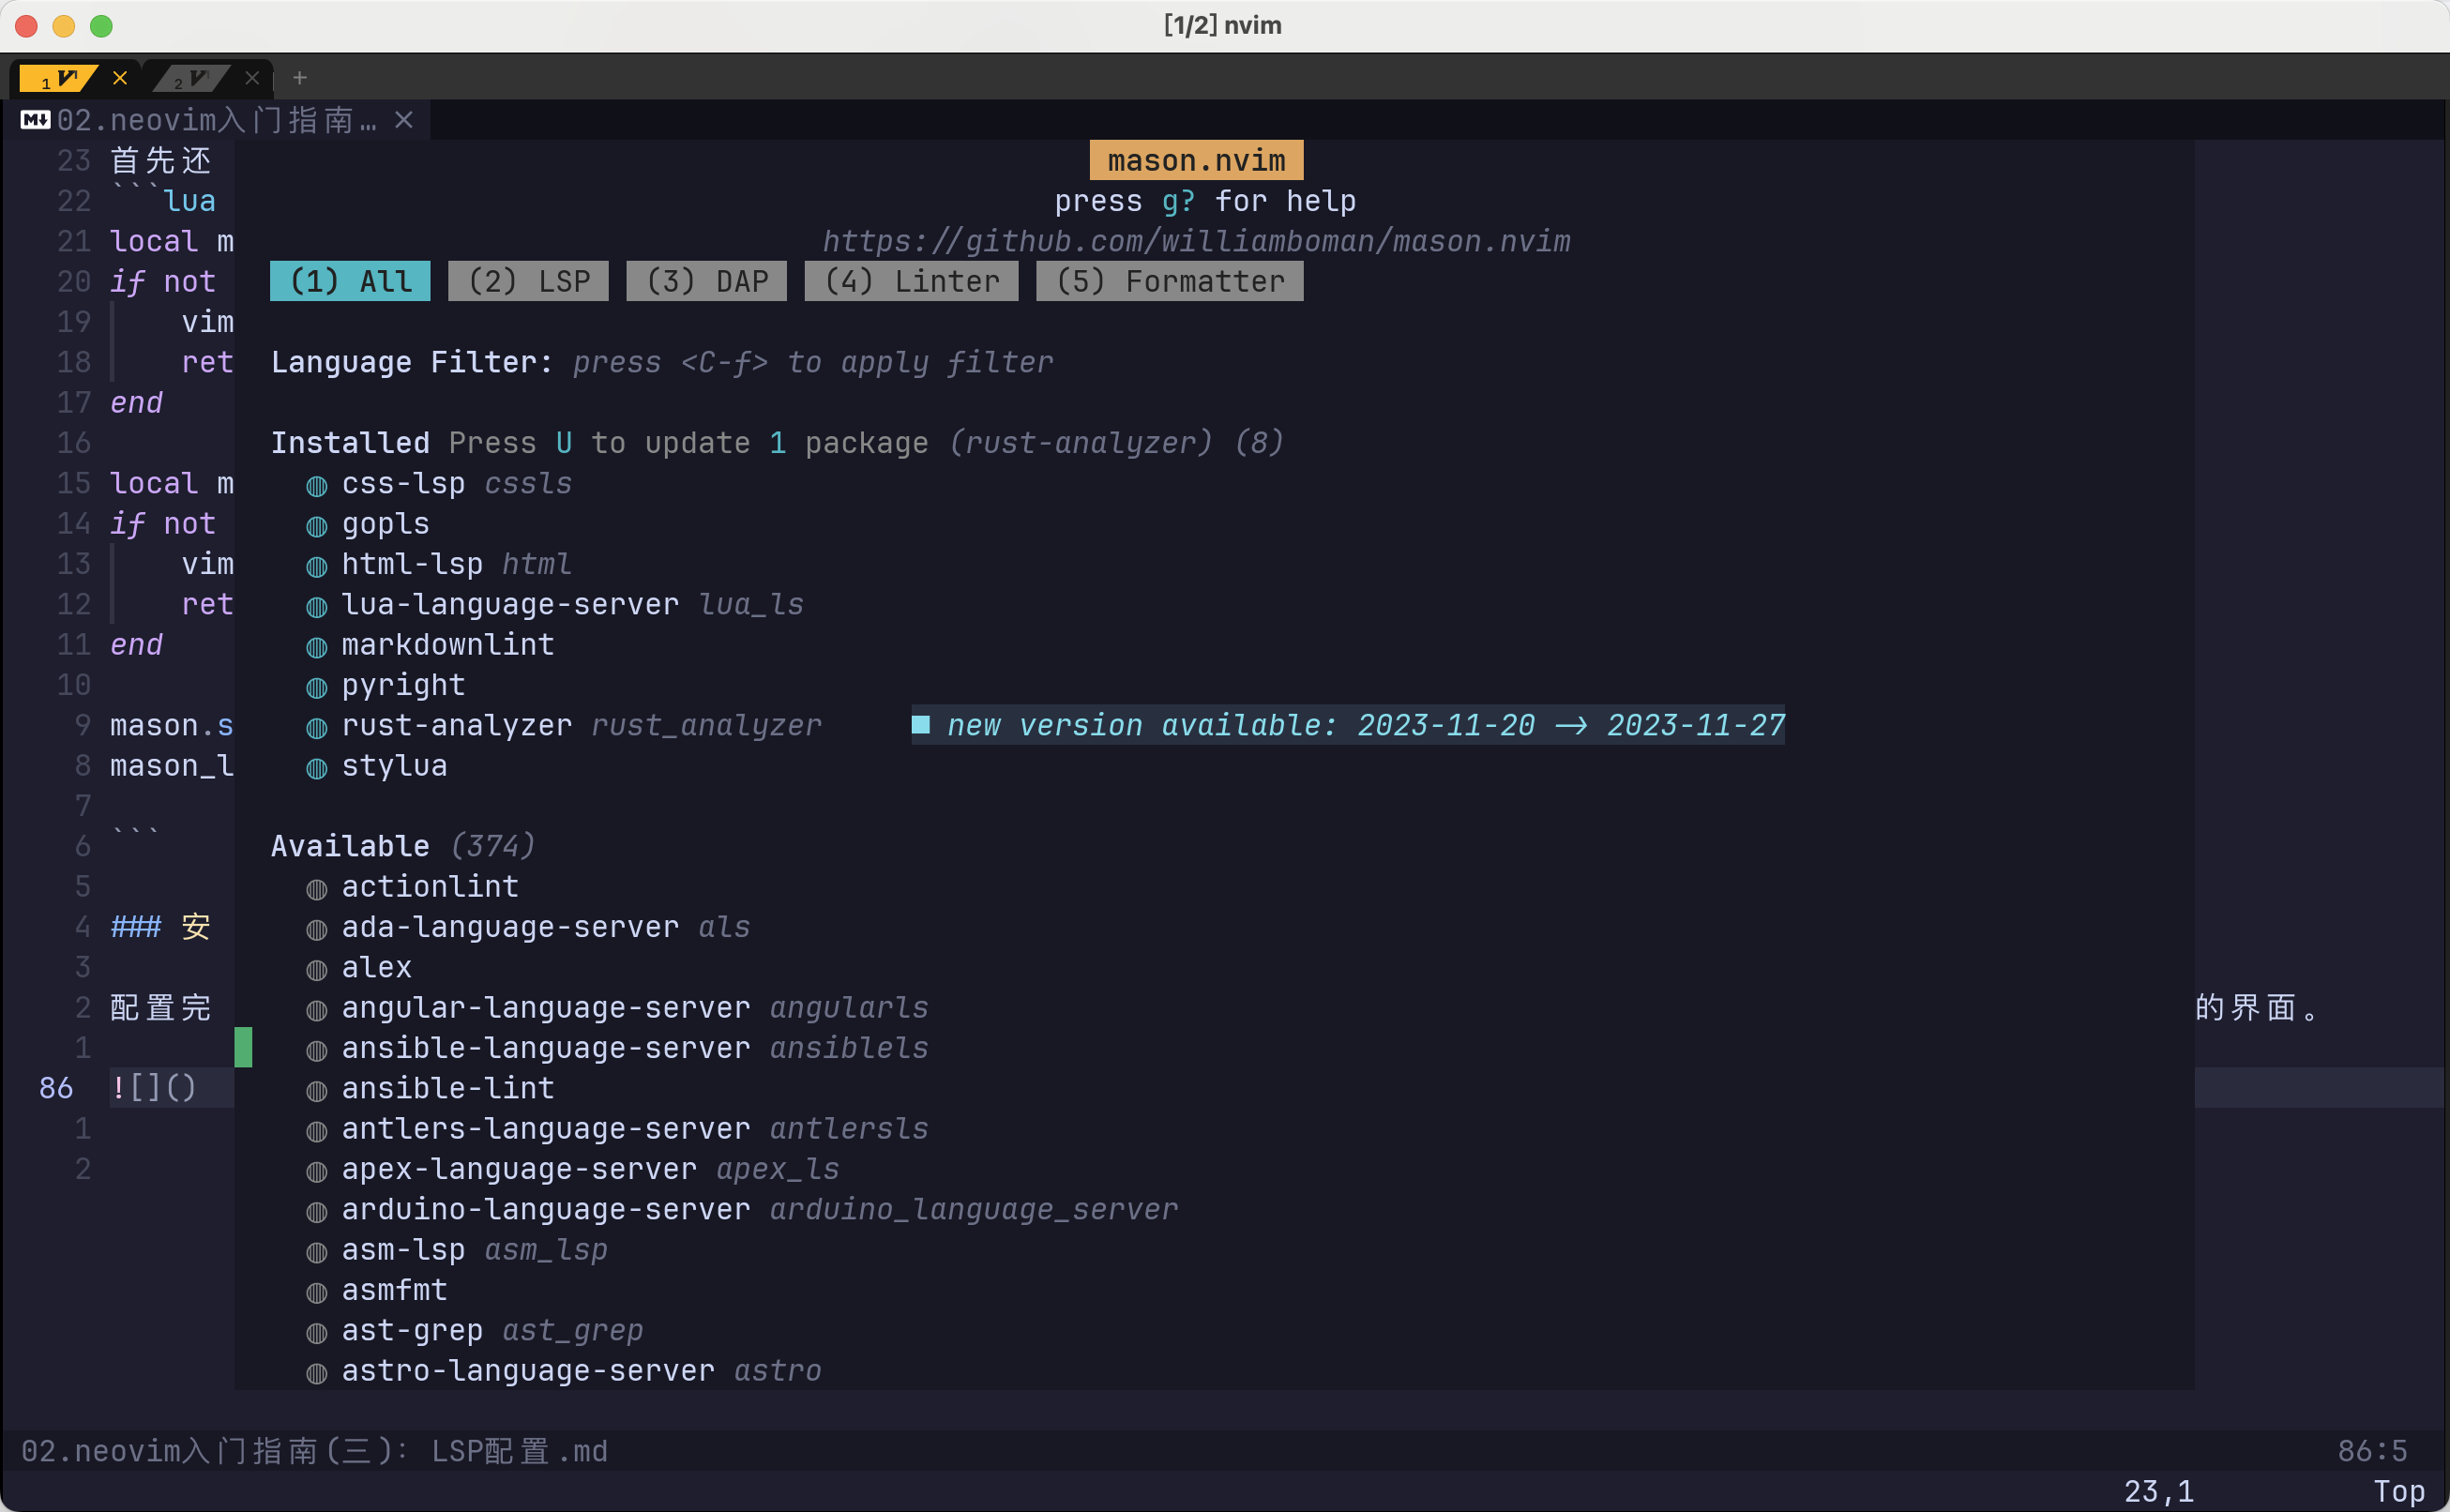
You can see how to use it through the help on the interface. By selecting different numerical options, e.g., 2 for LSP and 3 for DSP, etc., you can navigate to different server projects. Since we’re focusing on LSP today, you can directly press 2 to access the LSP interface and install an LSP. Use j and k to navigate. The first server to install is the Lua language server: lua-language-server. This server provides language services for Lua, meaning we’ll have LSP support when configuring Neovim or writing Lua code. Press i to install.
After a short while, installation completes. Next is the configuration to let Neovim know that our LSP is installed and should be started when appropriate.
-- mason.lua
nvim_lsp.lua_ls.setup({
 on_init = function(client)
  local path = client.workspace_folders[1].name
  if not vim.loop.fs_stat(path .. "/.luarc.json") and not vim.loop.fs_stat(path .. "/.luarc.jsonc") then
   client.config.settings = vim.tbl_deep_extend("force", client.config.settings, {
    Lua = {
     runtime = {
      version = "LuaJIT",
     },
     workspace = {
      checkThirdParty = false,
      library = {
       vim.env.VIMRUNTIME,
      },
     },
    },
   })

   client.notify("workspace/didChangeConfiguration", { settings = client.config.settings })
  end
  return true
 end,
})
With this configuration, Lua’s LSP is successfully set up. When writing Lua scripts, errors will be indicated. Of course, this is just the basic functionality of LSP. Advanced features like code navigation, auto-completion, etc., require further configuration.

Most LSP configurations can be found in [server_configurations.md](https://github.com/neovim/nvim-lspconfig/blob/master/doc/server_configurations.md
). The lua_ls is no exception; the above configuration was directly copied from the document 😄.
Currently, the LSP configuration supports features like code navigation, code action, etc. For example, to view documentation for the current variable or function, you can use the command :lua vim.lsp.buf.hover().
Other relevant commands include:
| Functionality | Command |
|---|---|
| Show documentation | :lua vim.lsp.buf.hover() |
| Go to definition | :lua vim.lsp.buf.definition() |
| Rename | :lua vim.lsp.buf.rename() |
| Find implementations | :lua vim.lsp.buf.implementation() |
| Find references | :lua vim.lsp.buf.refreences() |
| Find declarations | :lua vim.lsp.buf.declaration() |
| Format code | :lua vim.lsp.buf.format() |
| Code action | :lua vim.lsp.buf.code_action() |
For these basic functionalities, typing a bunch of commands in command mode each time you need them is indeed slow. So, you can define shortcuts for these commands, making it faster to access them each time.
⌨️ Keybindings
Open your keybinding configuration file keybinding.lua and add configurations for the aforementioned functionalities.
-- keybinding.lua
-- LSP keybindings
pluginKeys.lspKeybinding = function(mapbuf)
 -- Rename
 mapbuf("n", "<leader>r", ":lua vim.lsp.buf.rename<CR>", opt)
 -- Code action
 mapbuf("n", "<leader>ca", ":lua vim.lsp.buf.code_action()<CR>", opt)
 -- Go to definition
 mapbuf("n", "gd", ":lua vim.lsp.buf.definition()<CR>", opt)
 -- Show hover
 mapbuf("n", "gh", ":lua vim.lsp.buf.hover()<CR>", opt)
 -- Format
 mapbuf("n", "<leader>=", ":lua vim.lsp.buf.format { async = true }<CR>", opt)
end
With keybindings configured, you can now bind these shortcuts to the LSP server we configured just now.
-- mason.lua
function LspKeybind(client, bufnr)
 local function buf_set_keymap(...)
  vim.api.nvim_buf_set_keymap(bufnr, ...)
 end
 -- Bind shortcuts
 require("keybinding").lspKeybinding(buf_set_keymap)
end
Now, you can bind the shortcuts.
-- mason.lua
nvim_lsp.lua_ls.setup({
 on_attach = LspKeybind,
 on_init = function(client)
    -- Omitted other configurations
 end,
})
With this, Lua’s LSP configuration is complete, and you can use features like documentation viewing, code action, etc., when writing Lua.
Currently, all these LSP servers need to be manually downloaded. For some commonly used servers, we can automate the download by configuring it so that when the configuration is loaded for the first time and the machine doesn’t have the relevant servers, they’re automatically downloaded, effectively addressing the issues we discussed earlier.
-- mason.lua
mason_lspconfig.setup({
 automatic_installation = true,
 ensure_installed = { "lua_ls", "rust_analyzer" },
})
With this configuration, if we don’t have Lua and Rust LSP installed locally, they’ll be automatically downloaded and installed.
Auto-completion
So far, with LSP’s support, the editing experience has become excellent, and the development speed has increased significantly. Though LSP supports auto-completion, we haven’t mentioned it yet. That’s mainly because Neovim’s built-in functionalities alone aren’t powerful enough; we need plugin configurations.
hrsh7th/nvim-cmp is an auto-completion engine written in Lua. Through cmp and related plugins, it takes Neovim’s auto-completion to a new level.
In addition to nvim-cmp, let me recommend a few more cmp-related plugins. You can find more on the wiki.
- hrsh7th/cmp-nvim-lsp Provides completion suggestions for LSP.
- hrsh7th/cmp-path Completes file paths within the file.
Configuring Auto-completion
Similarly, I won’t elaborate on installation. Create a cmp.lua file in the lsp folder.
-- cmp.lua
local status, cmp = pcall(require, "cmp")
if not status then
    vim.notify("Could not find cmp")
    return
end
Now, let’s configure the previously mentioned completion sources.
cmp.setup({
 sources = cmp.config.sources({
  { name = "nvim_lsp" },
 }, {
  { name = "path" },
 }),
})
Now, when you input text, you’ll see auto-completion suggestions. To select and accept suggestions, we can set shortcuts according to our usage habits.
Similar to setting shortcuts before, add configurations for these functionalities in keybinding.lua.
-- keybinding.lua
pluginKeys.cmp = function(cmp)
 return {
  -- Trigger completion
  ["<A-.>"] = cmp.mapping(cmp.mapping.complete(), { "i", "c" }),
  -- Cancel
  ["<A-,>"] = cmp.mapping({
   i = cmp.mapping.abort(),
   c = cmp.mapping.close(),
  }),
  -- Previous
  ["<C-k>"] = cmp.mapping.select_prev_item(),
  -- Next
  ["<C-j>"] = cmp.mapping.select_next_item(),
  -- Confirm
  ["<CR>"] = cmp.mapping.confirm({
   select = true,
   behavior = cmp.ConfirmBehavior.Replace,
  }),
 }
end
Finally, in cmp.lua, use these shortcuts.
cmp.setup({
    -- Omitted other configurations
    mapping = require("keybinding").cmp(cmp),
})
With this, auto-completion configuration is complete.
Conclusion
So far, we’ve completed the configuration for Neovim’s LSP and added auto-completion. Due to space limitations, I’ll discuss how to beautify LSP prompts, enhance auto-completion, etc., in the next part.
Related Content


If you feel that this article has been helpful to you, your appreciation would be greatly welcomed.
Sponsor